
Beyond the hype
The principle design objectives of Flagenbush speakers are as follows:
-
Create a genuinely world class speaker line for home theater as well as stereo.
-
Make them so they are scalable from a small office stereo to large 9.2+ custom home theaters.
-
Make them aesthetically profound, but immune to changing fads of style.
-
Make them “bombproof strong” with materials able to withstand the test of time.
-
Make them customizable with nearly infinite veneer and edging choices.
-
Keep production small to insure high quality and that bragging rights of owners are well-founded and remain among the “elite.”
The Flagenbush philosophy on materials use and design
In the high end audio world there is a lot of controversy over materials use and design. The Flagenbush philosophy is simple enough: To provide world class sound in a cabinet that is itself worthy of that sound quality with respect to both appearance and durability. Here I will try to dispel some of the hype that has gained far too much traction (at least in my mind) over the past 30 or so years concerning high end speakers and audio in general. I am a scientist by profession as well as education… and by passion and skill I am a speaker designer and builder. I have found this this to be a very fortuitous combination.
Electronic materials:
Electronic materials include crossover components, wires, binding posts and transducers. The crossover components include resistors, capacitors and inductors.
There are several things to consider when selecting electronic materials. Both cabinet internal and external speaker wire, for example, is not all equal in its conductivity (the ability to transfer electricity). Copper is the most common element for use as wire. In part this is due to its excellent conductivity, but it is also relatively inexpensive compared to other elements that are good conductors, such as silver or gold.
Conductivity of Silver, Copper and Gold (in 106/Ohm cm, larger is better)
Silver, Ag is 0.630x10⁶/Ohm cm
Copper, Cu is 0.596x10⁶/Ohm cm
Gold, Au is 0.452x10⁶/Ohm cm
Of the above three: gold, silver and copper, silver is the best conductor, copper is the next best and gold last in the group. Now, if all things were equal with these three elements (except for their conductive properties) it would be easy to choose silver as the “wire of choice.” Unfortunately, all things are not equal—for instance both silver and copper have a tendency to oxidize when exposed to air and in turn their electrical conductivity is impaired by that oxidation. As gold does not oxidize, its conductivity is not impaired. But, gold is extremely expensive compared to silver (roughly 35 times more expensive) and copper (roughly 5000 times more expensive) and is thus, cost prohibitive for any reasonable length to connect speakers to amplifier. Fortunately however, both silver and copper may be treated with a coating to prevent oxidation from occurring. So, we are back to silver as the “wire of choice,” but it too is still expensive at roughly 140 times that of copper. What we really want is the conductivity of silver close to price of copper. Well, I’m here to tell you this is possible due to simple physics… all that needs to be done is to increase the diameter of the copper wire to improve its conductivity. Although by increasing the diameter of the copper wire we are not changing the conductive properties of the copper itself, but we are improving the “conductive capacity” of a particular wire with respect to its length. How much thicker does copper wire have to be than silver wire for equal conductivity? NOT MUCH AT ALL! Due to the application of physics the composition of the wire becomes completely arbitrary! Flagenbush uses copper wire… of the appropriate diameter of course.
Binding posts are analogous to speaker wire. However, as the external speaker wire is not generally solidly connected to the binding posts by solder, oxidation can impede the connection over time. Therefore, gold plating of the binding posts is quite common as is the end of the speaker wires (by a connector like a “banana plug”). While there are several inexpensive gold plated copper binding posts to choose from, Flagenbush uses the “ultra-expensive” Supra Boxcon posts, but this selection is due to the higher quality fit and finish rather than conductive performance. Nevertheless, for speakers of this class the overall price impact using the Supra connectors is minimal.
In the past 30 years or more what has saddened me most about audio dogma is the distraction from actual design performance with materials hype and design hype. It seems to know no bounds and multi thousand dollar speaker wire is simply the most blatant. Now, I’m not saying that silver speaker wire is not more expensive to make, obviously it is due to the cost of silver. But, I am saying that it is completely unnecessary and that money could be put to better use for your ultimate sound system. If you are the type of person that simply must have the “best” I can respect that. But I contend that the best need not be the most expensive. Most times I initially ignore cost and concentrate on performance; commonly my selection of materials provides better performance than costlier alternatives.
When initially researching speakers for your own use, try not to get too caught up in the verbal hype of materials and design put forth by speaker manufacturers. While manufacturers may like to boast about their designs (including Flagenbush) and it may make for interesting reading, such rhetoric tells you very little about the actual sound reproduction quality. If there is one thing to look for in the specifications above all else it is an actual graph showing the finished speaker frequency (in Hz) versus sound pressure level (SPL in dB) curve. The flatter the curve is, the better the speaker should be at reproducing recorded sound content accurately without bias. Some manufacturers purposely design their speakers so that there is slightly higher output (SPL) somewhere between 75 and 150 Hz so that when they are auditioned the bass is enhanced and appears more impressive in a short listening time frame, even though it is not truly accurate with respect to reproducing recorded content. Few speaker brands are bold enough to advertise a graph of the frequency response curve and instead simply give a frequency range, something like 40 Hz to 20 kHz +/-3 dB. The problem with this is that it is quite common for manufacturers to average the SPL dB variation over the frequency bandwidth and there may still be very significant and audible >>3 dB localized peaks or dips within the range. +/-3dB is the industry standard for world class sound as a 3db variation from one frequency to the next is simply not perceptible by the average person. It is hard enough to design and build a less than world class speaker that averages less than +/-3dB across its frequency spectrum; it is even more difficult to achieve world class status with a speaker that has an absolute window of +/- 3dB but still has a few abrupt SPL deviations from +3 dB to -3dB (6dB peak to adjacent dip) or from -3dB to +3dB (6dB dip to adjacent peak). The goal of true high end speaker designers is to achieve a flat curve +/-3dB with abrupt frequency deviations less than +/-3dB peak to adjacent dip or dip to adjacent peak… very few succeed while maintaining actual listening clarity and definition (more about this in the crossover design section).
TRANSDUCERS
So, there is a lot of materials hype out there. Transducer cone and dome compositions alone seem endless: Kevlar cones, graphite cones, aluminum cones, paper cones, beryllium domes, diamond domes, textile domes and silk domes. Composition of cones and domes matter little to me. Composition of magnets matter little to me. Composition of coils matter little to me. There is a lot of design hype out there too. Again, don’t get me wrong, I’m not saying that there is no merit whatsoever concerning composition and design, obviously there is or there would not be so many variations. But one needs to eventually come back to actual performance, how well composition and design are executed and the end result. If a manufacturer created a woofer cone made of compressed cow patty that was executed in a design that outperformed other woofers, I would probably be a buyer (as long as it did not smell bad). That’s what Flagenbush is about—the end result, effectiveness and no bad odors.
Presently, my selection of a transducer manufacturer is limited to one brand: SCANSPEAK. My reason for selecting SCANSPEAK is multifaceted, but cost was not a deciding factor. SCANSPEAK products are known for high end excellence and their performance is considered by many to be unparalleled and I agree. In terms of sound reproduction and general ease of designing and executing an effective crossover to complement the transducers I have found SCANSPEAK to be exceptional.
Woofers…
Perhaps it is ironic that I did not settle on SCANSPEAK’s most expensive upper tier “Illuminator” line for the woofers, but instead chose their “Revelator” line to be the better performer for my designs. For most of the Flagenbush line I use the 6.5 inch Revelator 18W8531G as the woofer of choice, and in my opinion it is the best 7 inch class woofer made with regard to sound reproduction and clarity. The more compact Siren speaker cabinet required a slightly smaller woofer and thus I chose the 5.25 inch Revelator 15W8530K00, again best in its class in my opinion.
Tweeters…
For the tweeters, I chose the Illuminator 1” textile dome D3004/660000 as the best performer up to 25kHz and the 1” beryllium dome D3004/664000 is an option for those who think their ears can hear beyond that. Note that the textile dome performs slightly better than the beryllium dome up to 25kHz, but beyond 25kHz the beryllium dome outperforms the textile dome. In choosing, ask yourself how much music content you have that requires anything beyond 25kHz, much less 20kHz! For all practical purposes I like the D3004 textile dome as the better all-around on and off axis performer and it is less expensive.
Subwoofer…
SCANSPEAK has one true high end subwoofer transducer, the 9” Revelator 23W4557T (00 silver cone or 02 black cone). I think SCANSPEAK should revisit their frequency measurements on this one as I am able to achieve a much flatter curve than they show in their specifications. Mated with their passive radiator I was simply awed and blown away with the results.
Passive radiators…
To port or not to port? I chose not and went with passive cones for all models except Siren. Siren, due to its compact size is sealed instead of using a passive cone or a port tube. There are advantages of a port over a passive cone just as there are advantages of a passive cone over a port. Generally it is less expensive to port than to go with a passive cone, but not tremendously so with speakers of this caliber, thus that was not really an issue for me. The conventional school of thought or dogma is that a port does not roll off on the low end as quickly as a passive and thus a port provides better extended bass. Generally this is true. But, if you bend or break a few rules in the design dogma this can be compensated for… that is partly why I tune the passives below the cabinet resonance frequency. The other reason I use an unorthodox tuning frequency biased toward the lower frequencies is because in doing so I am able to approximate a sealed enclosure. A sealed enclosure, in my opinion, gives the best reproductive clarity on musical content. In fact when playing most music, the passive will barely move. However, part of my design was also for home theater use where special effects low frequency is a must, only then does the passive really reveal itself. The nice thing about using a passive instead of a port is that you need not worry about introducing the unwanted “pipe organ” effect. While a good designer can minimize the “pipe organ” effect to the point where it is negligible, using a passive sidesteps the problem altogether. For the Flagenbush models Poseidon, Dionysus and Lil’ Dion I used the 9” Revelator 23W0-00- (00 silver cone or 02 black cone). For Flagenbush models Iris and Erato I used the 6.5” Revelator 18W0-00-01. Iris has two passive radiators on its backside.
CROSSOVER COMPONENTS
The complexities of crossover component materials are as vast as transducer designs and cone compositions. The composition and design of capacitors alone is almost unbelievable. Inductors too have numerous options. Rather than trying to discuss and weigh the advantages and disadvantages of each I’ll simply say that it all boils down to design execution and end result (no surprise). Of course one must consider quality of products for consistent repeatable results and for this I have not limited myself to any particular brand. At the moment my crossover designs incorporate products made by several manufacturers including: Mundorf, Clarity, Erse, 3m and the list goes on.
CROSSOVER DESIGN
The crossover design can make or break a speaker’s sound quality, no matter how well the cabinet is made or the transducer and component selection. Without a well-designed crossover that is custom tailored to specific cabinet construction and the components used, a speaker cannot perform to its maximum capability.
The perfect crossover is elusive. There is no one design method or model that fits all. I can spend weeks or more on a single crossover design, only to test it and subject it to more tweaking or shelve it altogether only to start from scratch in pursuit of something that may be only slightly better. For this reason, I have made my speakers so that the crossovers can be removed and replaced by "upgrades" should I ever get the urge or inspiration to attempt to improve any of the very effective current designs. Any person with reasonable skill with their hands can replace the crossovers. Should this ever come into play I'll provide thorough instructions with photographs on how to access the crossovers and remove them without damaging the cabinet surfaces or the super-tight electrical connectors.
The perfect crossover (if there is such a thing) gives a flat SPL curve across the frequency spectrum, has a crossover point that permits the transducers to perform at their optimal best in clarity and definition, has an impedance load that is consistent and capable of being driven by any well-made amplifier and finally, provides maximum sensitivity for the selected transducers.
Knowing what you are after and getting it are often two completely different things. Most of the time, you can’t have everything. Or as the saying goes, “you don’t get something for nothing,” trade-offs and compromises must be made, so prioritizing importance only makes sense. My crossover design priorities are as follows:
Priority one: The impedance load must be nominally 6 ohms or above so that any well-made amplifier can drive it. This is paramount. A speaker with a perfectly flat frequency curve but with a nominal impedance load of 2 ohms is an impractical design and amplifiers capable of properly driving that speaker will be extremely limited.
Priority two: The crossover frequency must be at (or at least very close to) the point at which each transducer is capable of performing its best whilst playing content with multiple frequencies simultaneously. For a 2-way speaker: A crossover point that is too high will encumber the clarity and definition of the higher midrange when low bass content is played simultaneously. A crossover point that is too low will encumber both higher midrange and high end clarity and definition when mid bass content is played simultaneously. When speaker measurements are taken for SPL vs. frequency curves, discrete frequency signals are sent to the speaker individually. Thus, a flatter modeled or measured SPL curve may not be the best design if the crossover point is wrong. In fact, two identical speakers with nearly identical SPL curves but that differ in crossover point can sound completely different when playing actual listening content.
Priority three: A flat SPL curve. If I have to give up some flatness to gain actual listening clarity and definition, so be it. I make speakers to listen to. Impressive specs on paper are not my highest priority or ultimate goal. If it were, you’d be seeing even flatter SPL/Frequency curves and even tighter dB variation specs associated with my speakers.
Priority four: Sensitivity. Most people believe higher sensitivity is better. But, I believe “better” is the wrong word to use. Higher sensitivity is LOUDER, period, that’s it. I will ALWAYS give up higher sensitivity to address any of the other priorities above.
Once I achieve a nice “initial” crossover design with the above priorities in mind, I am still not finished. There is one other thing I address, but more difficult to quantify in terms of a priority. I call it “trimming the fat.” I attempt to simplify the crossover design by reducing the number of components. Each component has a specification tolerance or error. Although I use quality components with minimal tolerance errors, these errors can still add up resulting in a crossover design that is not as consistently accurate and precise as it could be from build to build. As I want consistent repeatable quality sound from one speaker build to the next, I “trim the fat,” streamlining the components to be as few as possible while keeping (if not also insuring) quality sound. In this case, more is usually not better.
Which is best, 1st, 2nd, 3rd, 4th, etc., etc. order crossover design? Which family model is best, Bessel, Legendre or Butterworth? What roll-off rate do I prefer, 3dB per octave, 6dB per octave, XdB per octave?
As I already mentioned above, there is no one design method or model that fits all. Each speaker design is unique and has its own personality or set of intricacies with which the crossover must contend or complement. As such, I do not limit myself to any particular design method or model. For instance, for 2-way speaker model “X”, I make an educated guess based on experience and begin with a crossover point at 2.5 kHz and use a 2nd order curve for the low pass, a 4th order curve for the high pass and initial roll-off rates of 6 dB per octave. What I settle on in the end may be exactly that, partly similar or completely different—in the end it is more dependent on actual resultant sound than anything else.
You may be wondering… If what I say is true, then why do manufacturers typically list the order, family model and roll off rates for their speaker designs? In part it is simply due to marketing, but not always. For speakers that are bi-amp capable, knowing the crossover point and roll-off rates does have some importance because when a speaker is connected in bi-amp fashion the signal is still sent through the high pass and low pass crossover filters, albeit separately. In other words, the crossover still plays a part even though the high pass and low pass circuits are not directly connected together. Knowing the roll-off rates helps the audio enthusiast determine how to best equalize sound when they connect via the bi-amp method. Which one is better, bi-amp or single-direct-connect via a jumper depends on several factors including: crossover design, quality of amplifier and equalizer as well as experience and skill level of the audio enthusiast adjusting the equalizer in bi-amp mode. Personally, I prefer single-direct-connect using a jumper with my designs as I know I’ll have a hard time achieving the same sound quality by bi-amping, there are half as many speaker cables to contend with as well. The way I look at it is that I designed the crossover to do the heavy lifting and provide as smooth a transition as possible at the crossover point and I can still use my equalizer in single-direct-connect mode if I choose. But the option is still there with every model in the Flagenbush line for those who prefer to bi-amp. I don’t like limitations, so I won’t limit others. To each their own, I say. For each speaker model I even provide an SPL curve showing the actual roll-off of each transducer just to be as helpful as possible.
CABINET MATERIALS AND DESIGN
A lot of people are confused about this. Even I was confused about this when I first started building speakers. A speaker is not a musical instrument, so the type of wood or cabinet medium is not super critical to sound (as long as the material has a consistent density and is reasonably stiff). Put more simply: If the cabinet makes sound that is BAD! A speaker is not a guitar or violin. The difference is that musical instruments CREATE sound, conversely speakers REPRODUCE sound.
I use cabinet grade Baltic birch plywood that I laminate to be 1 inch thick. Solid, non-laminated wood panels are typically not used for speakers because wood expands and contracts quite a bit with humidity and/or temperature changes. This is why true solid wood doors are paneled and the panels are typically loose to prevent the door from cracking. A speaker made out of solid, non-laminated wood will eventually crack and leak somewhere, probably within the first few years if it is a floor standing model with larger panels. Plywood combats this by being comprised of thin laminated sheets where the grain direction alternates. Baltic birch plywood uses thinner layers than, say, flooring plywood and is thus much stiffer and more dimensionally stable because there are more layers for a given sheet thickness. Birch is also a tighter grained wood than many, which is also advantageous. Baltic birch plywood is stiffer AND lighter in weight than MDF. MDF requires more bracing because it is not as stiff.
Why most manufacturers use MDF (medium density fiber board) or particle board: It very easy to machine (CNC automation), its dimensionally stable, it’s very inexpensive, it’s a recycled product, “green.”
“Green” is so in-vogue that I estimate 90% of today’s furniture is made of MDF as the substrate and recycled imitation vinyl veneer covers it—unlike true wood furniture of the past, much of the MDF furniture finds its way to a landfill within 20 years (now that isn’t really that green). MDF is great to work with, but it isn't very strong and for goodness sakes don't let moisture get to it or it will permanently expand.
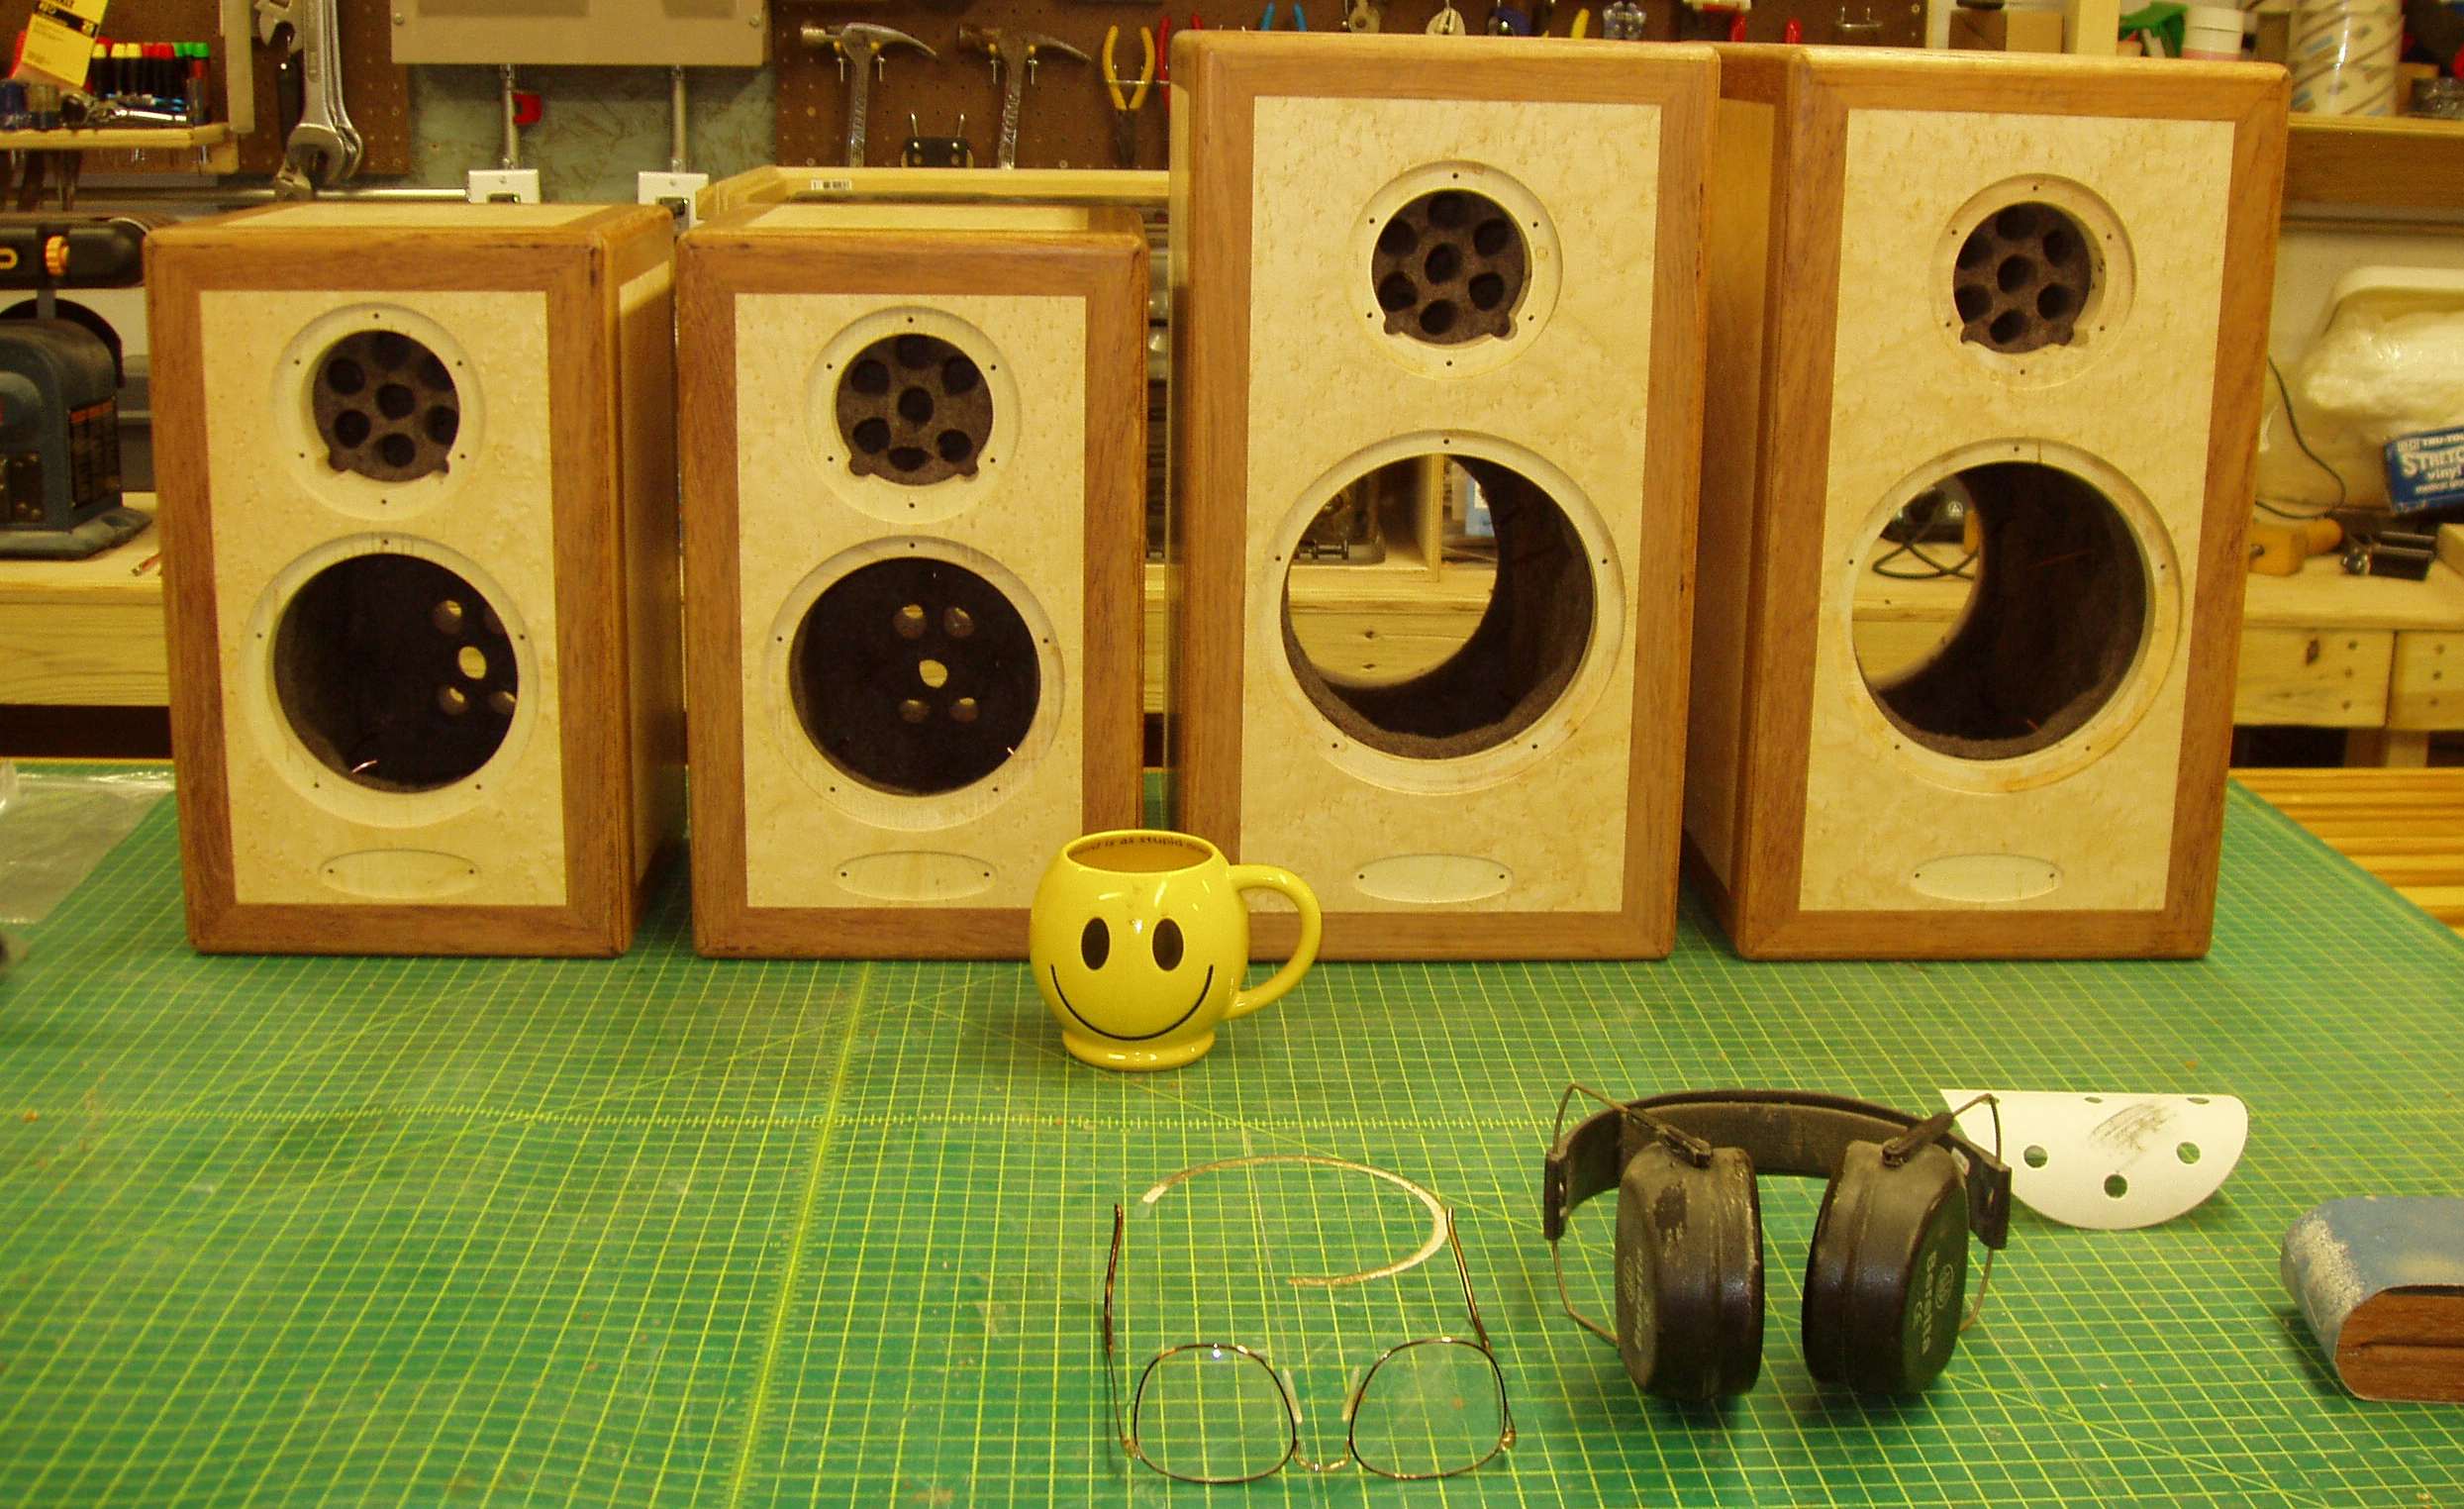
My speaker cabinets are intended to be customizable with just about any choice of natural wood veneer and edging. I really like birdseye maple because of its figured dimension. I chose jatoba as the hardwood for its extreme hardness and contrast in color. That is what I show on this website. But you might have diffrent tastes than me so the visual look of these speakers can be quite different. You can see that the birdseye maple even varies quite a bit on the models I show. This demonstrates the importance of selection when tailoring your setup. If you are going to add more speakers at a later time from your first set, then you might want to select a veneer that is easier to match. Although I do catalog veneer scraps from custom builds to assist in matching it should a customer want more matching speakers a year or more after their first set, sometimes this can be a formidable task. Each tree has a different pattern of grain and figure. Some species vary more than others. The options for veneer are copius, for a taste of what is available go to my Veneer Options page.
The purpose the hardwood edging serves beyond aesthetics is durability, it protects the cabinet from unintended abuse… but it comes with a price due to difficulty in construction. For the hardwood edging there are 4 miters on a single panel, each miter takes a minimum of two cuts, but generally takes 3 to 5 and must be hand fitted for a perfect join. In other words, that’s about 16 cuts per panel or 192 cuts per speaker pair. On top of that there is the locking miter that goes the length of each edge (4 edges per panel) and to make certain it is clean, each edge is cut 3 times. So, the minimum number of miter cuts for one pair of speakers comes to a grand total of 336. Except for routed holes/recesses and drill holes, my design is not very CNC friendly. Cabinets like mine simply must be hand made and that quality shows through. No overlaps or reveals and hand fitted perfect miters, my speaker design simply cannot be mass produced and few people have the patience to attempt it by hand.
Varying enclosure designs...
A very popular and visually appealing design by other brands is what I call the plywood sandwich. Basically it is a stack of CNC machined plywood (often quality baltic birch) that is then sandwiched together so that the plys are on the sides of the speaker and the top and bottom (or front and back) sides are the faces of the plywood. They do look beautiful and compared with my cabinets much easier and faster to manufacture (but not necessarily lower in price). In 2008 I saw a brand with this design for a mini-monitor priced at nearly $30K boasting that it took 20 hours of labor just to sand the speaker smooth. I can believe that because it takes me at least that much total sanding for one of my smaller pairs and that does not include sanding and polishing the finish. So from a construction standpoint I can see why there are so many more of these designs coming forth as they are very time efficient: CNC, glue, sand and you're around 80% complete. BUT, the problem I have with this design is that over time they are prone to cracking. What happens is that humidity changes causes wood to swell and shrink a little bit. Plywood is most resistant to shrinking length and width-wise, but it's thickness is not so stable. Even 2% shrinkage on a 16 inch thick plywood sandwich would result in a 1/3 of an inch change, something has to give somewhere and if the shrinkage is not uniform (as is often the case) you'll get a crack. So, in my mind the plywood sandwich design is doomed, the question is not if it will crack, but when. But, they sure do look nice. Yet, $30K for something that might not last 10 years... well, I'll pass.
The six sided box versus other cabinet designs: With a little research you'll find that the high end speaker arena is filled with differing cabinet designs. This evolution started because it was realized that cabinet shape can influence how sound is reflected, especially from the enclosure front facia and its edges. Typically, sharp corners and edges are the worst at producing adverse effects. So now we have cabinets in almost every conceivable shape on the market. Anything from the stealth jet fighter, R2D2, mailbox, pyrimid, nautiloid, spheres and a whole lot of shapes I don't even know how to describe with words. However, I have found that a nice 3/8 inch radius roundover on the edges and corners is quite effective at reducing these adverse reflections. I am skeptical about a lot of the shapes having anything at all to do with sound quality, but the designs are out there just the same. For examples go to the Other Brands page. So really, the shape of the cabinet is more of what appeals to you visually and how appropriate it is to your room decor. I like the six sided box and I believe it is more likely to withstand the ever-changing fads of room interior design.
Due to so many different shapes, the enclosure materials have taken a path away from wood or wood products into materials that necessitate automated fabrication, molded plastics and machined aluminum for instance.
Internal bracing...
Internal cabinet construction varies quite a bit. A lot of brands boast about it... how much bracing they use for instance is a topic that often is mentioned in marketing campaigns. The reason for bracing is to limit the movement of the panels of the cabinet or enclosure. If the enclosure moves or flexes when a speaker is driven it affects the sound quality, especially as the volume level increases. Sound should only come from the transducers not from the enclosure. In most cases a flexible enclosure will create unwanted sound itself as well as interfere with the midrange/bass transducer sound quality. So bracing is introduced to remedy these effects. However, too much bracing or bracing that is placed in the wrong place can also interfere with the midbass transducer vibration and produce unwanted effects as well. So, I use as little bracing as possible and with enclosures of the sizes I have with stiff 1 inch thick baltic birch panels, I don't have to use much bracing. Dionysus has three braces, Lil' Dion, Iris and Poseidon have only one brace and Erato and Siren require no bracing at all.
Internal panel and enclosure damping...
As I mentioned before, enclosures that make sound are usually not desireable. So, the inside edges/panels of most better made enclosures typically have a damping material fixed to them with glue or other adhesive. There are a lot of what I call "snake oil" products out there for this, but I have found that some more natural products work very, very well and won't deteriorate or "dry-rot" over time as a lot of the foam materials do. My panels are damped with 1/8 inch natural cork overlain with a 3/4 inch (or 1 inch, in the case of Poseidon) natural wool and synthetic blend felt. The enclosures are then tuned with the proper amount of glass fiber. The materials I use will remain effective for at least a lifetime, not just a few decades or years.
Cabinet dimensions...
Speaker designer dogma states that, except for subwoofer enclosures, no two dimensions should be the same. You'll see that for Dionysus, Lil' Dion and Siren, I strayed from this dogma. The reason this belief is out there is because many times it is true. The problem is that two identical sides are prone to create internal "standing wave" interference. That is to say, at the frequency wavelength equal to the length of the identical sides the sound will either cancel out and the speaker will essentially be mute at that frequency or they will combine and the speaker will be too loud at that frequency. Whether the waves combine or cancel out depends on whether the inner cabinet surfaces are uniformly padded or not, so it gets a little complicated. But either way, it is an unwanted effect. This is not a problem for subwoofers as the wavelengths are much longer than any of the sides. Yet, for full range speakers it is the inside dimension that comes into play, not the outside. Because my speakers are not huge behemoths, the large speaker magnets and baskets as well as the passive radiator baskets effectively disrupt the dimensional equality. So, I have had no problems with the front, back and sides being equal on the outer dimension and I was able to keep the footprint as small as possible, which is what I wanted. In fact, if I had gone with deeper sides (as is typical) for these particular models, I may have actually created internal standing wave interference whilst only creating a more traditional looking, bulkier and heavier cabinet. Sometimes trial and error is the only way to know for sure. In this case, for my speakers, I know for sure. The reason Erato and Iris are more traditionally shaped is because I wanted the fronts to be aesthically pleasing in size (not overwhelmingly big) and for the internal enclosure volume to be appropriate for the midbass transducers I had to go with deeper sided enclosures.